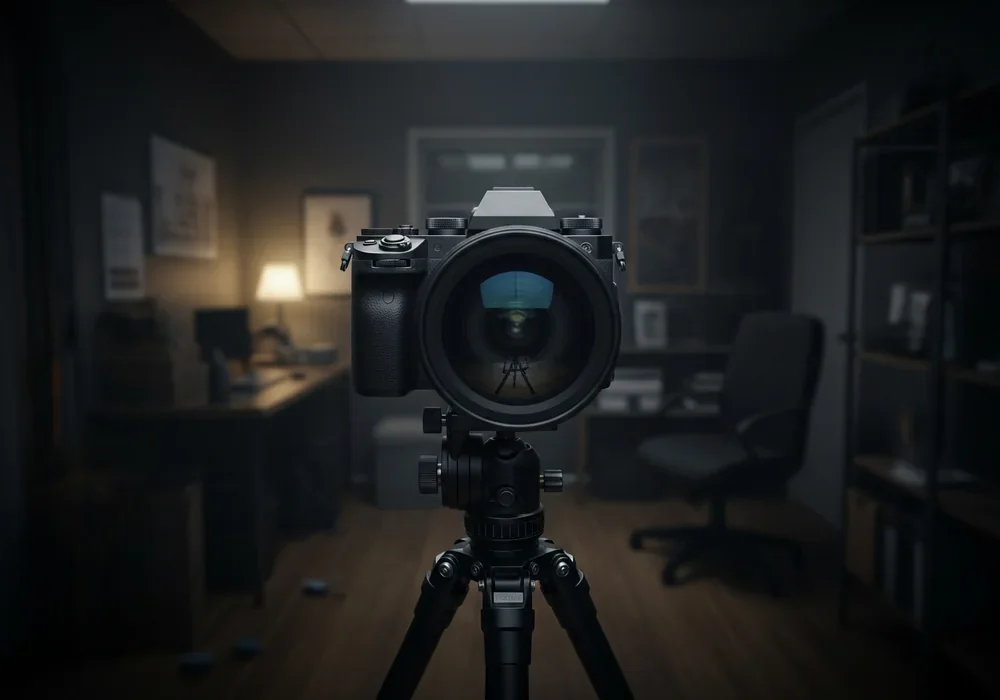
Why Your $2,000 Camera Looks Like a Webcam
Have you ever spent a small fortune on a high-end mirrorless camera, only to realize your footage still looks grainy and flat? It’s a common frustration for many creators. Honestly, the most expensive lens in the world can’t save a shot if the light is working against you. In the world of design and visual storytelling, light is the medium that defines everything from texture to emotion.
Think of your camera like a human eye. In a dark room, even the sharpest vision fails to see detail. A proper YouTube lighting setup is what allows your camera’s sensor to perform at its peak. It reduces noise, sharpens the focus, and—most importantly—makes you look like a professional rather than someone filming in their basement. If you want that crisp, ‘expensive’ look, you need to stop obsessing over megapixels and start obsessing over photons.
In this guide, we aren’t just talking about making things bright. We are talking about sculpting with light. Whether you are working in a cramped bedroom or a dedicated studio, these principles will help you create a visual identity that keeps viewers engaged. Let’s dive into how you can turn a mundane corner of your home into a cinematic experience.
The Golden Rule: Mastering the 3-Point YouTube Lighting Setup
If there is one thing that separates amateurs from pros, it is the 3-point lighting system. This isn’t just a trend; it’s a foundational principle used in Hollywood and high-end photography. It creates a three-dimensional look on a two-dimensional screen. Without it, your face might look flat or blended into the background, which is a major distraction for your audience.
The Key Light: Your Main Character Energy
The Key Light is the star of the show. It’s the primary light source and should be the brightest light in your YouTube lighting setup. Ideally, you want to place this light about 45 degrees to the side of your face and 45 degrees above your eye level. Why? Because this mimics the natural angle of the sun, creating soft shadows that define your jawline and cheekbones.
- Position at a 45-degree angle from your nose.
- Elevate it slightly above eye level to avoid ‘raccoon eyes.’
- Use a diffuser (like a softbox) to make the light wrap gently around your skin.
The Fill Light: Banishing the Harsh Shadows
While the Key Light creates beautiful highlights, it also creates dark shadows on the opposite side of your face. This is where the Fill Light comes in. Its job isn’t to compete with the Key Light but to complement it. Usually, you set the Fill Light to about 25% to 50% of the Key Light’s intensity. It ‘fills’ in those shadows just enough so the viewer can still see the details of your face without losing the sense of depth.
The Backlight: Creating That Professional Depth
Ever feel like you’re just a flat image stuck to a wall? The Backlight (or Hair Light) solves this. By placing a light behind you, aimed at your head and shoulders, you create a thin rim of light that separates you from the background. It adds a subtle ‘halo’ effect that screams high production value. In a YouTube lighting setup, this is the secret sauce that makes you pop off the screen.
Small Room? No Problem! Space-Saving Hacks for Creators
Let’s be real: not everyone has a 500-square-foot studio. Most of us are squeezing a desk into a bedroom or a living room corner. When space is at a premium, traditional light stands become tripping hazards. This is where smart interior design meets technology. You don’t need a massive footprint to get professional results.
Instead of bulky tripods, look into desk-mounted C-clamps. These allow you to mount your lights directly to your desk, freeing up valuable floor space. Another pro tip is ‘Bounce Lighting.’ If you have a white wall or ceiling, try pointing your light at the wall instead of yourself. The wall acts as a massive reflector, creating a soft, diffused glow that fills the entire room without requiring huge softboxes.
| Solution | Benefit | Best For |
|---|---|---|
| C-Clamp Mounts | Zero floor footprint | Small home offices |
| Wall Bouncing | Super soft light | Low-budget setups |
| Flat LED Panels | Thin profile | Narrow spaces |
The Science of Color: Kelvin, CRI, and Skin Tones
Have you ever noticed your skin looking slightly orange or sickly blue in a video? That’s a color temperature issue. In the world of YouTube lighting setup, we talk about Kelvin (K). 5600K is roughly daylight (cool/blue), while 3200K is tungsten (warm/orange). For most creators, staying around 5000K-5600K provides the most natural, energetic look.
But temperature isn’t everything. You also need to look at CRI (Color Rendering Index). This measures how accurately a light source reveals colors. Always aim for a CRI of 95 or higher. Lights with low CRI will make your skin look muddy and dull, no matter how much you color-grade in post-production. Think of CRI as the ‘resolution’ of your light; higher is always better for a vivid, lifelike image.
Setting the Vibe: Background Lighting and RGB Accents
Your background tells a story just as much as your face does. A boring white wall is a missed opportunity for branding. This is where practical lights and RGB LEDs come into play. Practical lights are ‘real’ lights visible in the frame, like a stylish desk lamp or a neon sign. They add warmth and a sense of ‘home’ to your design.
RGB LED bars or ‘pucks’ can be used to wash your back wall in a specific color that matches your brand identity. If your channel is about tech, maybe a cool blue or deep purple works best. If it’s a lifestyle channel, a warm amber might be the move. By lighting the background separately from yourself, you create ‘layers’ of light that make the image feel deep and cinematic.
Ring Light vs. Softbox: Which One Should You Buy?
This is the age-old debate for every new YouTuber. Honestly, the answer depends on your content style. Ring lights are incredibly popular because they are an all-in-one YouTube lighting setup. They provide even, shadowless light and create that iconic circular reflection in your eyes. They are perfect for beauty vloggers or anyone who needs to be front-and-center.
However, if you want a more ‘cinematic’ or ‘natural’ look, a softbox is the way to go. Softboxes mimic the light coming through a large window. They provide more control over where the light falls and create more flattering shadows for storytelling or educational content. If you have the space, a COB (Chip on Board) LED with a softbox is the gold standard for professional quality.
Final Checklist for Your Perfect Studio Glow
Setting up your lights isn’t a ‘set it and forget it’ task. It requires constant tweaking as you change your room layout or get new gear. But don’t feel overwhelmed! Start with the basics and build from there. Here is your quick action plan to get started today:
- Kill the overhead light: Standard ceiling lights create nasty shadows under your eyes. Turn them off!
- Block the windows: Unless you are filming in a short burst, natural light changes too fast. Use blackout curtains for consistency.
- Test your white balance: Ensure your camera settings match the Kelvin value of your lights.
- Monitor your reflection: If you wear glasses, tilt your lights slightly higher to avoid annoying glare.
At the end of the day, a great YouTube lighting setup is about creating an environment where your audience feels comfortable and focused on your message. Light is the bridge between your space and their screen. Use it to tell your story better, and watch your engagement soar. Now, go turn those lights on and start creating!
자주 묻는 질문 (FAQ)
Q: Is natural light better than artificial light for YouTube?
A: Natural light is beautiful but unpredictable. If a cloud passes by, your video’s brightness and color will shift instantly. Artificial lighting gives you total control, allowing you to film at 2 AM or 2 PM with the exact same look.
Q: Do I need to spend a lot of money on my first YouTube lighting setup?
A: Not at all! You can start with a basic $50 ring light or even a couple of cheap work lights from a hardware store with some parchment paper as a diffuser. The technique (placement) is much more important than the price tag.
Q: What is the best light for someone who wears glasses?
A: To avoid reflections, use large light sources (softboxes) and place them higher up, angled down. Avoid placing a ring light directly in front of you, as it will create two bright circles on your lenses.
자주 묻는 질문
Is natural light better than artificial light for YouTube?
While natural light looks great, it’s inconsistent. For professional videos, artificial lighting is preferred because it offers total control over brightness and color temperature, regardless of the time of day.
Do I need to spend a lot of money on my first YouTube lighting setup?
No. You can start with affordable LED panels or a ring light. The key is understanding placement (like the 3-point system) rather than buying the most expensive gear.
What is the best light for someone who wears glasses?
Use large, diffused lights like softboxes and position them higher and further to the sides. This prevents the ‘glare’ on the lenses that occurs when lights are placed directly at eye level.

Kumar Tomar is a distinguished writer at DesignHomes.in, specializing in home design and interior decor. Holding a degree in Interior Design from the National Institute of Design, Kumar combines formal education with practical experience to deliver insightful and authoritative content. With over 8 years in the industry, he is known for his in-depth knowledge of design trends and his ability to provide actionable advice for homeowners. Kumar’s expertise and dedication to high-quality writing make him a trusted resource for those seeking to enhance their living spaces. Follow Kumar on Instagram for the latest design inspiration and tips.